And here are some other fun facts to know and tell:
- Raw or pasteurized cream can be used
- If using pasteurized, it will need some sort of culture added to the cream, such as mesophilic yogurt, cultured buttermilk, or Milk Kefir Grains.
- If using raw cream, it will culture all on its own at room temperature.
For this butter round, I used four bags of cream (about 30 ounces). The bags were poured in a bowl and stood at room temperature for about 20 hours.
To give you some idea how thick the cream got, here's what a scoop of it looked like after coming out of its refrigerator hibernation:
I must admit that I was tempted to just stop the recipe process right then and there. The cream looked so, ummm, creamy and delicious, and just screaming to be spread on some lovely warm bread. But being the intrepid kitchen maven, I got a hold of my senses and soldiered on.
Knowing how much liquid came out of my original butter batch, I figured it would be best to divide this batch in half.
So half of the cultured cream got put into the bowl of the standing mixer. Using the whisk attachment, beating commenced. Here is the cream when it hit soft peak stage:
Keeping the mixer on about medium speed, the cream continued to whip until I saw the water beginning to separate. At that point, I backed down the mixer speed. Most of the solids worked themselves into the whisk:
Using a rubber spatula, the butter was removed from the whisk and plopped into a large bowl. Using a slotted spoon, I was able to retrieve any whipped bits that were still in the bowl.
The liquid that was in the bottom of the bowl, the buttermilk, got poured into a measuring cup.
I repeated the whipping process with the remaining cream.
The final amount of buttermilk that was extracted:
With the full batch whipped and now in the bowl, I poured some purified water over the butter.
I used a wooden spoon to rather smush up (a technical term dontcha' know) the butter to extract the remaining buttermilk. After smushing for a bit, the water got poured off and clean water was put in. I repeated the smushing process until the water was clear and the last traces of buttermilk were gone.
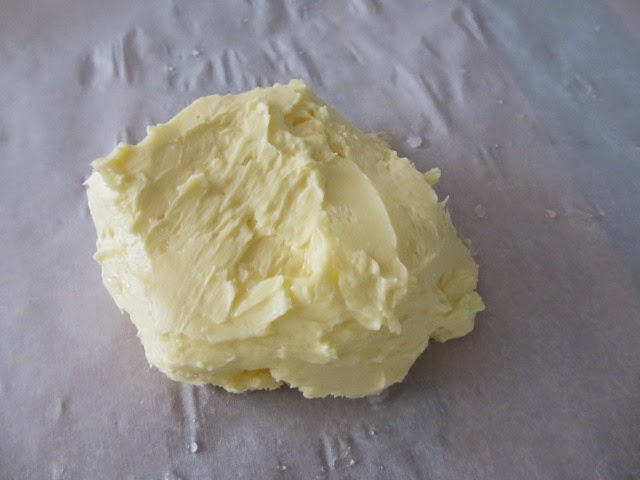
Not having any fancy-schmantzy butter molds, I free-formed a block of butter on a piece of parchment paper:
The final yield of butter was about 13 ounces from the original 30 ounces of cream.
Without a doubt, this butter was smooth (ignore my spatula marks) and glossy. I had already taken the quick and easy butter that was made the day before out of the fridge. Now it was time for the taste test.
David and I tried the quick and easy butter first. And guess what? It tasted like butter! Then we sampled the cultured version. This one was richer, a bit more tangy, and a delight. I can't wait to see if we notice any difference when I cook and bake with it.
David wondered if the taste difference was substantial enough to warrant the extra time. I think it is. But I will say that if I'm in a hurry, have raw cream on hand, and need butter right away, the quick and easy method will be the way I go.
Noelle, thank you for introducing me to another level of butter heaven.
But before ending this post, I have some notes that may possibly be of some use for those looking to try this recipe:
- I initially put the cream on the counter, covered with a couple of colanders. This was mostly to keep the cat princess, Bronte, from taking a sample. Later in the day, I put the bowl into an unheated oven to ensure the cream was cat proof.
- Now that warmer weather is setting in, I may need to shorten the time of leaving the cream to culture at room temperature.
- Remember that buttermilk that I reserved? Well call it providence, karma, fate, whatever, but while my butter was doing it cultural thing, a recipe for banana buttermilk bread appeared on my Facebook news feed. Will be making that in the next day or two and will post results.
- Butter molds are in my future.


No comments:
Post a Comment